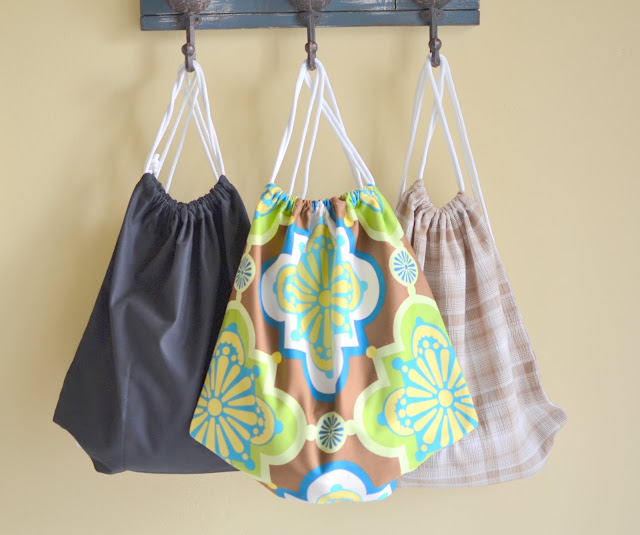
Today I'm sharing a tutorial on how to make an easy to sew drawstring backpack. We need a few of these over here to pack shoes, shin guards and a change of clothes for the days we go straight from school to soccer.
Of course you can just buy one for pretty cheap but where is the fun in that? Plus I wanted a pretty one for me that I can put my keys and phone in when I have to coach. You just can't buy one like this....
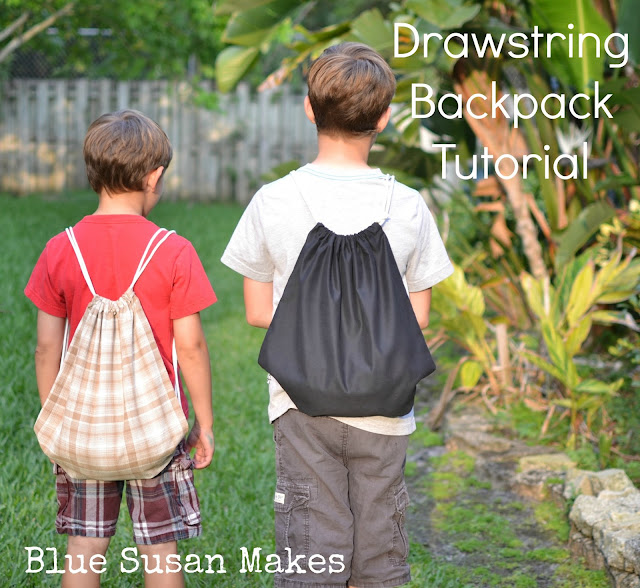
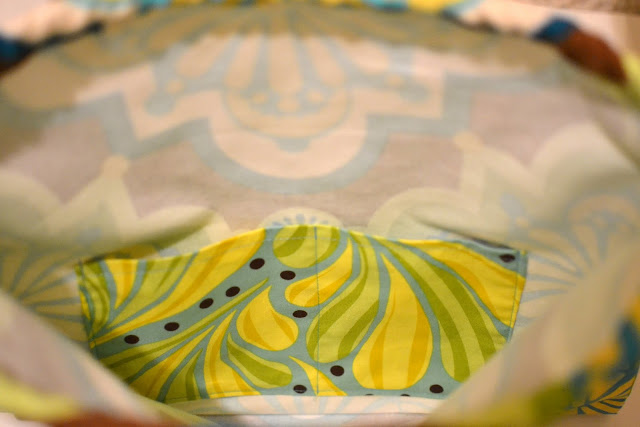
While I was at it I stitched up a couple for the boys as well. I'm sure there are other tutorials out there for these, but here is my take on it. I put a little pocket inside mine too! You can't buy one with pockets on the inside. Customizing your pockets is the best thing about making your own bags.
DIY Drawstring Back Pack Tutorial
To make one you'll need:
- ONE 15 x 34 inch rectangle of medium to heavy weight fabric. I used this pretty Drawing Room Sateen from Anna Maria Horner fabrics.
- ONE 8 x 10 inch rectangle of fabric for the pocket. I used a quilters cotton.
- TWO Grommet sets
- TWO 68 inch lengths of Nylon cording. I bought a cheap package of clothesline from Walmart.
Sewing Instructions
1. Make a casing along each short end:
First, fold the side seam allowance to the inside 1/2 inch at each corner. Press with a warm iron about 1 1/2 inches away from the top. Next, create the casing by folding the top edge over 1/2 inch and press, then fold it over 1 inch and press (I made the casing in the picture too narrow and had to unpick it and redo it for the strings to slide through easily. oops!) Topstitch along the folded inner edge. Backstitch at the beginning and end. Repeat for other short side.
Partially cut through the seam allowance just below the casing seam. Repeat on all four corners.
2. Make the pocket:
Fold pocket fabric in half, matching the short ends with right sides together. Sew around all three sides, leaving an opening for turning. Turn inside out and press, making sure the raw edges of the opening are tucked inside. Topstitch along the top edge of the pocket if you wish.
Position the pocket about 7 inches down from the top of the casing on the interior side of the fabric. Pin in place. Topstitch along the sides and bottom of the pocket about 1/8th inch from the edge.
3. Sew the Side seams:
Fold body in half lengthwise, matching the casings and pin the side seams.
Starting at the bottom fold, stitch along side seam with a 1/2 inch seam allowance, hold clipped edge open at the top and stitch as close to the casing as you can. Back stitch a few times.
Serge or zigzag along raw edges of the sides seam to finish the seam if desired. Turn the back pack right side out and press flat pushing out the corners in the bottom.
4. Add the Grommets:
I used a Dritz Grommet pack that came with a setter. To set the grommet, position it in the corner and trace inside the center. Cut a hole just big enough for the male grommet to fit through. Position the female grommet on top, set the black circle on the bottom and the Setter on the top. Pound it with a hammer until it stays together well.
Pretty soon you'll have the grommets set like this and you'll almost be done!
Pretty soon you'll have the grommets set like this and you'll almost be done!
5. Insert the Strings:
Use a safety pin to thread one string through one casing and then the other. Then thread the other string through both casings starting on the opposite side.
If you make one using my tutorial I'd love to see it. Tag me @bluesusanmakes #BSMdrawstringbackpack on Instagram or Facebook. This tutorial as a part of our I am a Soccer Mom series. Check out my other posts for more tips and tutorials to get you through the season.
Lastly, thread both ends of each string through the grommet and tie a knot.
That's it! You're done!
I made a couple for my boys too and here they are in action.
I made a couple for my boys too and here they are in action.
If you make one using my tutorial I'd love to see it. Tag me @bluesusanmakes #BSMdrawstringbackpack on Instagram or Facebook. This tutorial as a part of our I am a Soccer Mom series. Check out my other posts for more tips and tutorials to get you through the season.


No comments:
Post a Comment