

Hi friends! I'm back today with another sewing tutorial for the Soccer Mom Series. Everyone uses camping chairs to sit on the sidelines at soccer. The chair covers are always poor quality and rip out before the chair dies, leaving you with a perfectly good chair but no easy way to carry it.
This is not helpful when you are herding a pack of kids across vast soccer fields. So I sewed up a new cover to make my life easier and I wrote up a tutorial for you to use if you find yourself in a similar predicament.

I have to admit, the driving force behind this series is the fact that I need a bit of external motivation to get things done. I have been dreaming up these projects in my head for a while but I just never make time to make them. This one is no exception.
The chair I have is the cheap kind from Walmart. I made the cover just a little bigger than the first one so the chair is easier to get in and out of. The finished cover dimensions are 41 inches long and 21 inches around.

DIY Camping Chair Cover Tutorial
Choose your fabric
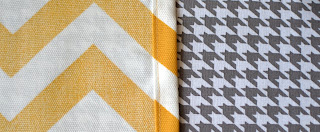
First you'll need fabric. I used on-hand outdoor decorator fabric for the Chevron and $2/yd utility type fabric of "unknown fiber content". Just make sure your fabric is a little heavier than quilters cotton.
You'll need
- 1/2 yard for the (yellow) upper body and strap
- 2/3 yard for the (black) lower body and bottom if you are making one cover and just 1 yard if you are making 2.
- 24" of cording and a cord lock. Seriously you can just use them from your old ripped out cover, unfortunately I threw mine away a year ago so I had to start fresh so I used a shoelace and a cord lock from the store.
Cutting
Here are the dimensions of what you'll need to cut. For the circle find a small plate or bowl that is close to 7 inches to use.
From the Upper Body and Strap fabric :
Cut 1 strip 4'' x 26'' for the Strap
Cut 1 rectangle 11'' x 23'' for the Upper Body
From the Lower Body fabric:
Cut 1 rectangle 22'' x 33''
Cut 1 circle with a 7 inch diameter using a s\

1. Start by making the handle:
Fold the trip in half lengthwise and press a crease to mark the middle, fold the sides almost to the center, fold in half again. Top-stitch along each long side. Set it aside.
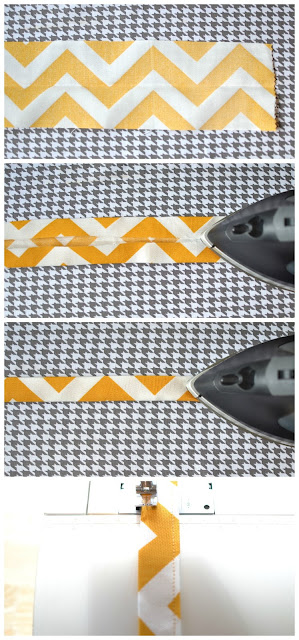
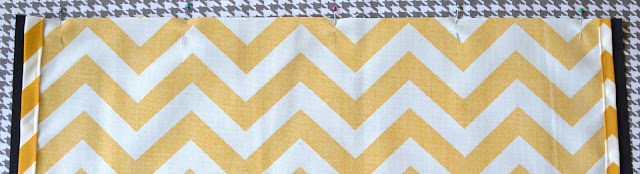
2. Next take the upper body fabric and hem the short sides by folding them over 1/2 inch TWO times and top-stitching.
3. Next, with right sides together, center the long side of the Upper Body along the short side of the Lower Body and pin
4. Stitch this with a 1/2 inch seam allowance making sure to backstitch well on each end. Zig zag or serge the raw edges to prevent fraying.
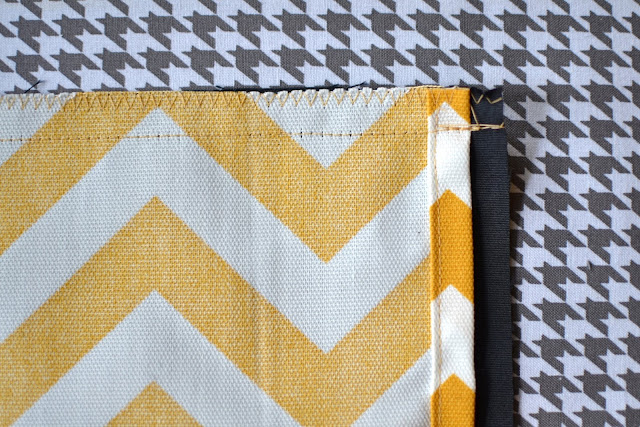
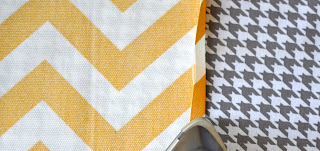
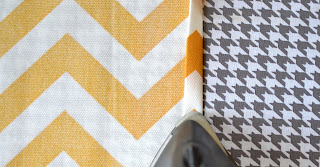
5. Press the seam toward the Upper Body and topstitch about 1/8th inch from the seam.
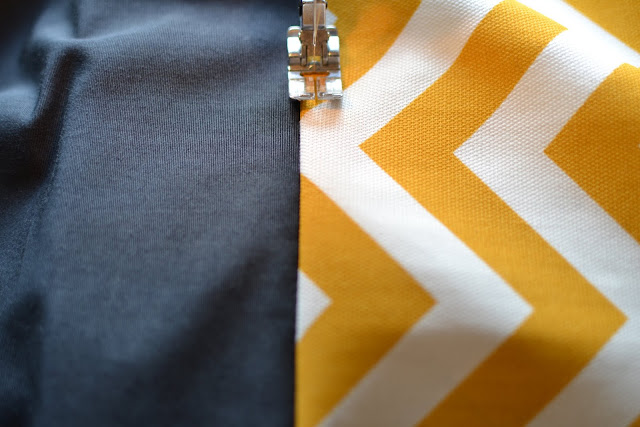
6. Create a casing in the top of the Upper body by pressing the raw edge in 1/2 inch and then 1 inch.
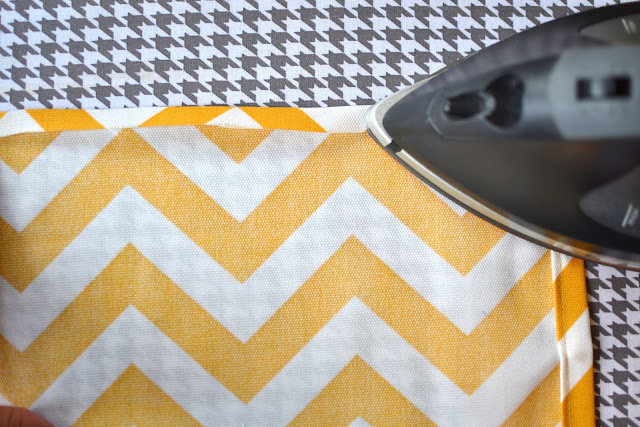


2. Next take the upper body fabric and hem the short sides by folding them over 1/2 inch TWO times and top-stitching.


3. Next, with right sides together, center the long side of the Upper Body along the short side of the Lower Body and pin

4. Stitch this with a 1/2 inch seam allowance making sure to backstitch well on each end. Zig zag or serge the raw edges to prevent fraying.

5. Press the seam toward the Upper Body and topstitch about 1/8th inch from the seam.

6. Create a casing in the top of the Upper body by pressing the raw edge in 1/2 inch and then 1 inch.

7. Topstitch 1/8 inch from inner fold.

8. Now sew on your handle: Position the top handle 5 inches away from the body side edge and 1 inch down from Upper/Lower body seam. Fold raw edge of handle under 1/2 inch and sew a "box" with an an "X" inside to secure it. Position the bottom of the handle 10 inches up from the bottom of the lower body and 5 inches away from the side edge. The handle will not lay flat, which will make it much easier to carry.

9. Sew the Body side seam: Fold the body in half matching the long raw edges and Upper/Lower body seam. Pin and stitch the Lower Body only with about a 1/2 inch seam (mine ended up being a 3/8 in seam)

10. Use a wide zig zag stitch or serge again to finish the raw edge.

11. Sew on the bottom: Carefully pin the Bottom to the Body. Chances are they won't line up perfectly. If you find that your circle is too big, cut it a little smaller. If your circle needs to be bigger, here's how you fix it. Pinch the side seam until it just meets the circle.

12. Sew additional stitches at your "pinched" point and angle your stitching to meet the existing side seam.

13. Now you can stitch the Bottom onto the Body with a presser foot width seam. Go slow! Smooth out the body fabric underneath as you go, and don't forget to take out the pins before you sew over them :) If this doesn't come out perfectly don't sweat it. You'll never notice!

14. Oh and the side seam just gets sewn to one side. You can also zig zag around your raw edges here too (even though I didn't).

15. Turn your cover right side out and add one set of reinforcement stitches at the bottom of the Upper Body opening. Ooh clearly I didn't match everything up that great, oh well it's just a chair cover.


You are done! Now your old chair has a new cover and your life just got a little easier! If you make one of these, I'd love to see it. Tag on Facebook or Instagram @bluesusanmakes.
Hi! I just made the camp chair bag. And it came out AWESOME!!! Your directions wee the best & easiest that I've seen on line! You ROCK!!! Thanks so much!!!
ReplyDeleteDawn B.
Just buy a new one at www.campchairbags.com
ReplyDeleteCamping is meant to be relaxed and fun but it will not be that way if you are not prepared for where you are going. best carry bag
ReplyDelete