Today I'm sharing the Super Simple Tote that I taught at our Sewing Soiree last week. It is very basic and great for beginners. In fact, it is so easy, I think it is the perfect project to use to teach someone to sew.
I think it is so fun to teach others to sew. Sewing is such a useful skill, plus it's fun! I've put together a set of instructions for you to use to teach your own sewing class. Teaching a class is a great way to spread the sewing love and share your passion with your friends. This tote is by no means my own design. I basically copied a simple store bought tote that I liked. I particularly like that the bag has a gusset that is sewn into the side seams. It makes such a cute little triangle, and is way easier than sewing a corner into the bag after you sew the side seams as you would for a traditional gusset.
I also like the way the handles are attached. You don't have to be careful about hiding any raw edges as you sew.
Have I sold you on the simplicity of this project yet??
I made a word document with all of the instructions that you may print out to share if you are teaching a class. Click HERE to get to it. This bag is made of one layer of fabric so you will want to choose a heavier weight fabric for it. Canvas, outdoor canvas, twill, decorator fabric, corduroy, or denim are all good choices. You will need 1/2 yard of fabric.
Lets get started, shall we?
1. Cut fabric. :
for body - cut a 14” x 32” rectangle
for handles - cut 2, 3” x 21” rectangles
2. Prepare handles by pressing long sides ½ in toward center with wrong side
of fabric facing up. Then match folded edges and press in half forming a strap. Stitch along both sides 1/8 inch from edge. At this point lay the handles next to each other and make sure they are still the same length.
3. Prepare the body of the bag by folding the rectangle in half with right sides
together. Make a small mark 1 ½” from fold on both edges front and back.

4. Make a fold connecting each of the markings and match folds together
making a pleat that folds up inside the bottom of the bag. Pin pleat at the
sides. See example.
5. Sew side seams by stitching along each side about 3/8 in. from edge. Using a wide
zig zag stitch, sew along side seam enclosing the raw edges so they won’t
fray.
6. Fold down the top of the bag ½” toward wrong side of fabric and press
pushing side seams to ones side. Then fold it down again 1” and press.
7. Tuck handle end into fold 3 inches from each side seam and pin. Handle
should point down into bag. Repeat for the other handle.
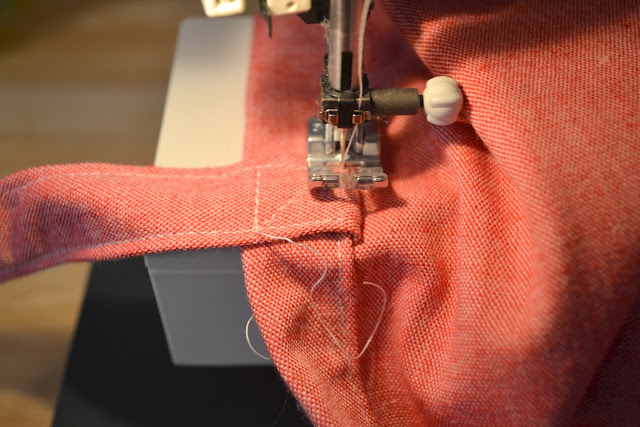
8. Starting at a side seam, topstitch down fold 1/8 inch from bottom of fold on
the inside of the bag.
9. Finally fold up handle and stitch in place making an “x” surrounded by a box.

 10. Now, for a perfect looking bag, iron it.
Okay, so here is a little more information. You can also line this bag easily by cutting a second body out of lightweight fabric that is 3 inches shorter than the main body cut. You make it exactly the same way and slip it inside just before you hem the top.

You can also add a pocket to the inside lining before you sew it together.

Now go spread the sewing love and teach someone to sew!


No comments:
Post a Comment